Chana Dal Halwa or Chanay ki Daal Halwa is a traditional Pakistani / Indian dessert made from a type of lentil known as chana dal. The dal is slow roasted with ghee, cream, sugar and cardamom till it turns into a rich and creamy dessert.

One of my absolute favourite Desi desserts is chana dal halwa or chanay ki daal ka halwa. It’s a traditional Pakistani / Indian dessert made from a type of lentil known as chana dal (or split bengal gram / split chickpeas in English). The dal is boiled with water and milk, then pureed into a paste. It is flavoured with cardamom and cooked with ghee and sugar till it turns into a rich, creamy and delicious dessert.
About this dessert
This rich and creamy lentil-based dessert is usually made on special occasions. Festivals such as Eid-ul-Fitr or Eid-ul-Azha, or at special dinner parties (or dawaats). It’s also a popular dessert during the winter season. The cold weather lends itself to having a rich dessert like this halwa, especially when enjoyed with a cup of Kashmiri chai or Desi style coffee.
Ingredients
There are just a couple of ingredients required to make this delicious dal halwa.

- Chana Daal / Chana Dal - Type of lentil also known as split bengal gram or split chickpeas. Easily available at Pakistani or Indian grocery stores, or in the international aisle of a large supermarket.
- Milk – Use full fat milk.
- Cream - Use pouring or thickened / heavy cream.
- Ghee - Also known as clarified butter. It’s best to use ghee to make this dessert, however, a neutral vegetable oil can also be used.
- Cardamom - Added for flavour and aroma. Best to use cardamom pods, however, cardamom powder can be used in a pinch.
- Saffron - Not a traditional flavoring ingredient used in this halwa, however, I personally like the flavour and aroma of saffron. Can be skipped.
- Sugar - Use finely granulated sugar or caster sugar as that will dissolve quickly. Otherwise pulse regular sugar in a coffee grinder / spice mill till fine.
- Nuts - Added for flavour and crunch. I use a mix of almonds and pistachios.
Check out my guide on how to stock a Pakistani Kitchen + Pakistani Pantry List (with English translation and descriptions).
Method
Making this traditional Pakistani winter dessert is easy. What it does require is a little bit of muscle, as the cooking process requires constant stirring. Read on ahead for step-by-step method on how to make chana dal halwa, with expert tips.
- Soak the chana daal: The chana daal must be soaked for at least 6 – 8 hours, or overnight.
- Boil the chana daal: Boil the daal with milk, until it is tender.
- Blend the daal with cream: Add cream to the boiled daal, and then blend into a paste using either an immersion blender or a food processor. It’s important to make sure the daal is blended properly, otherwise there will be a graininess in the final halwa. If the daal is difficult to blend, add a splash of milk.

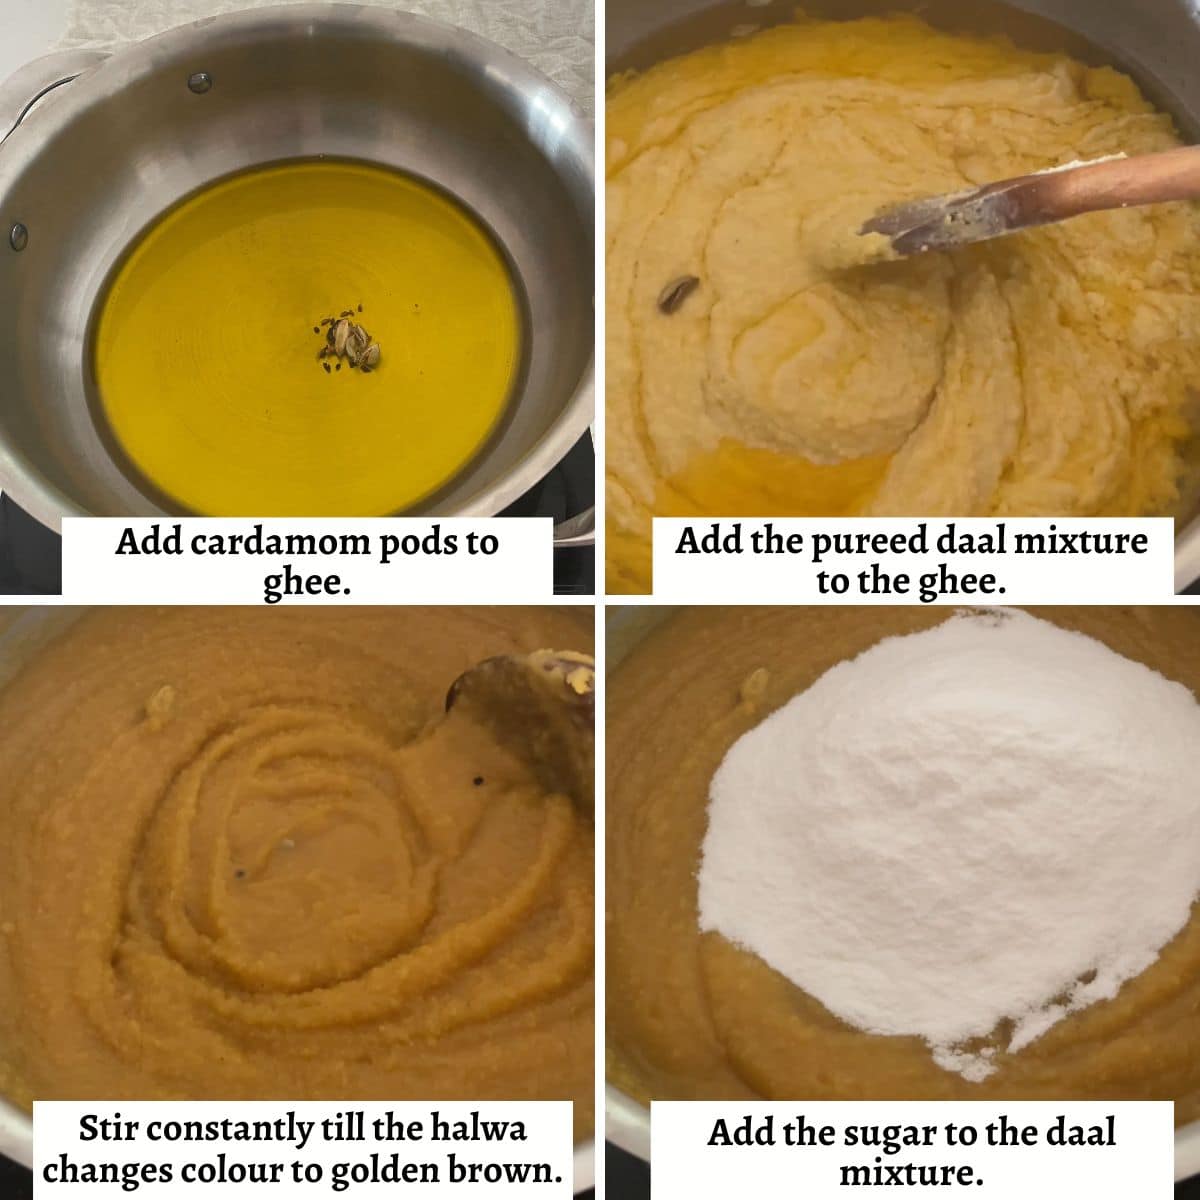
- Fry the cardamom seeds: Heat ghee in a large non-stick or stainless steel pan, and add the crushed cardamom pods. They will release their flavour and aroma.
- Cook and stir the halwa: Add the blended daal to the ghee, and cook the halwa till it turns a caramel golden brown. It’s important to stir constantly at this stage, also known as bhunai.
- Add the sugar: Once the halwa turns golden brown, add the finely ground sugar. Initially the sugar will result in the halwa thickening. As the sugar dissolves, the halwa will start getting liquid and easier to stir.
- Add the saffron: Once the sugar has dissolved, add the saffron and stir through. Adding saffron is optional.
- Fry the nuts in ghee: For additional flavour and crunch, fry the sliced nuts in ghee till they are golden brown.
- Garnish with nuts: Once the halwa is ready, garnish with nuts, and serve warm.

Serving
The halwa can be served warm or cold. However, it’s best served warm when it’s soft and has a creamier mouth feel. It thickens as it cools.
Storage
Store the halwa in an air-tight container in the fridge for upto 4 weeks. In the winter weather, it can also be kept in an airtight container outside for a week – 10 days. Just warm up before serving. It can also be frozen for upto 6 months. I prefer to make this halwa in bulk, and then store it in boxes in the freezer.
Make ahead instructions
This recipe is great for making ahead of time. The halwa can be made a week – 10 days in advance, and then warmed up before serving. It can also be frozen and then thawed before serving.
The prep to make the halwa can also be done over a few days to save time and effort. Soak, boil and make the blended daal mixture, and store it in the fridge. The cooking and the stirring process can be done over the next 2 – 3 days.
Expert Tips
- Make sure the chana daal mixture is properly blended with a hand blender / immersion blender or food processor. If it’s not blended properly, you will find there’s a hint of graininess in the halwa.
- In case the halwa is difficult to blend, add a splash of cream or milk.
- Use finely granulated sugar (or caster sugar) so it dissolves into the chana daal halwa easily. In case the sugar available in your local store is too big, pulse it in a coffee mill or spice grinder 1 - 2 times.
- Use a stainless-steel pan to make the halwa. Preferably one that is wide and shallow. This will help the chana daal from sticking to the bottom of the pan and burn. It is also possible to use a non-stick pot or pan.
- Keep an eye on the halwa and stir regularly so it doesn't burn. If you are doing other things on the side, cook the halwa on low heat. In case the lowest heat level on your stove is on the high side, put a tawa below the pot that will reduce direct heat to the pot. This will increase the total cook time but will reduce the risk of burning.

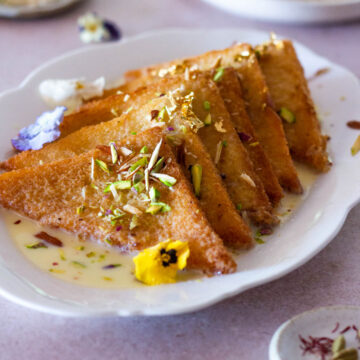
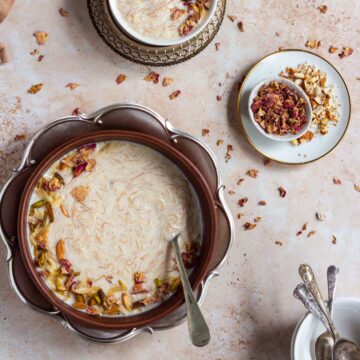
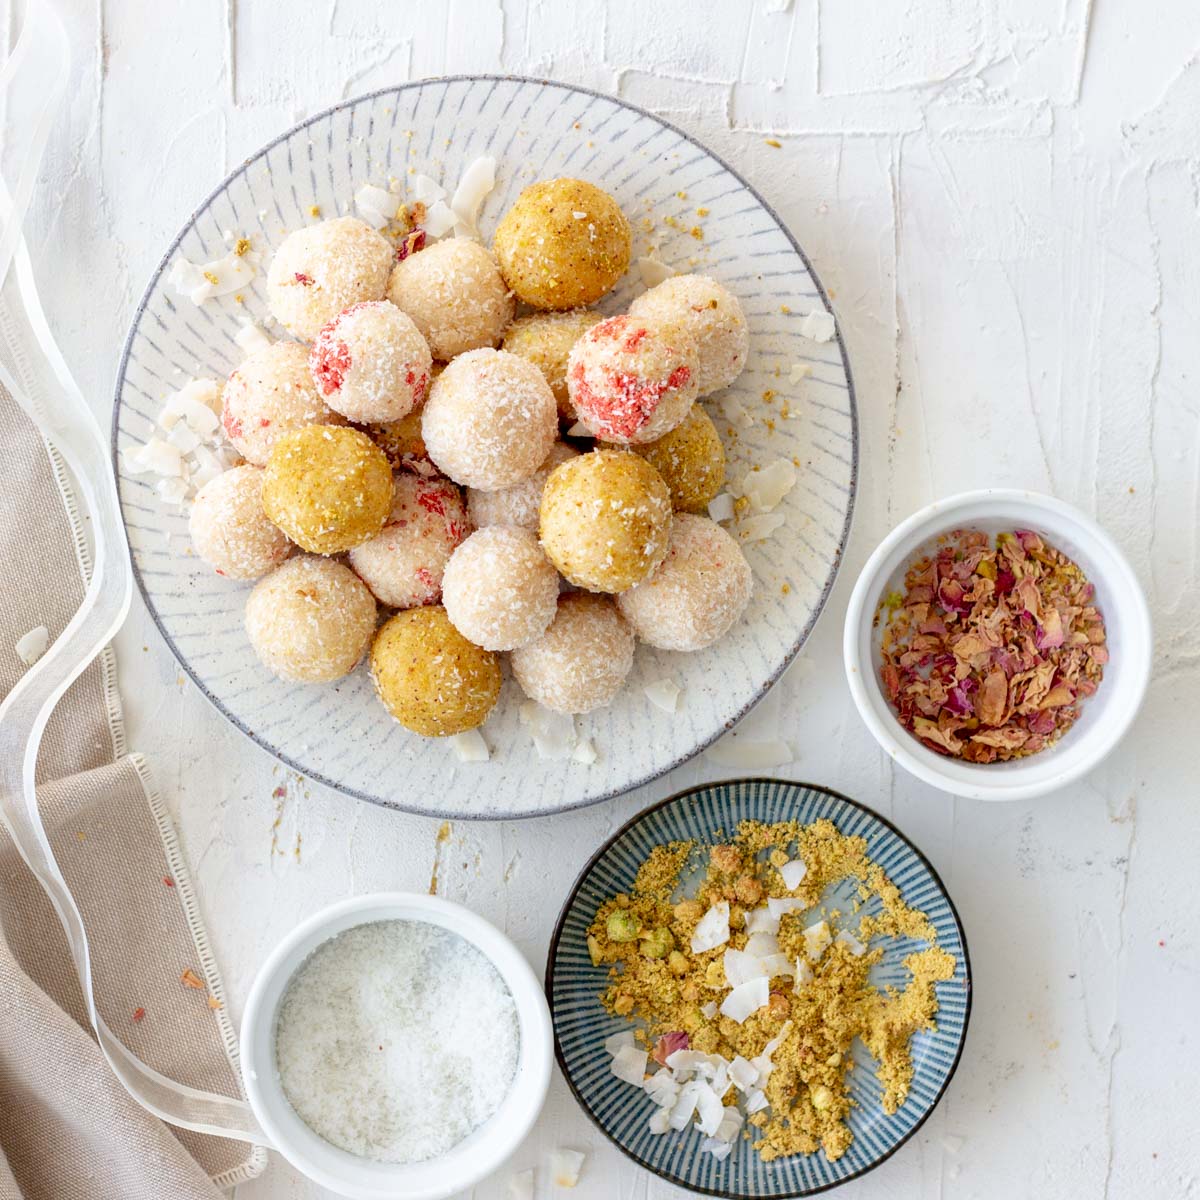
Looking for more Desi desserts? Check out the following:
Would love it if you could try out and rate the recipe, and let me know how it was in the comments below! To keep updated with recipes, stories and so much more follow me on Facebook and Instagram.
📖 Recipe
Chana Daal Halwa | Chanay ki Daal Halwa
Equipment
- Immersion Blender or Hand Blender
Ingredients
- 1 ½ cups chana daal also known as or split bengal gram or split chickpeas
- ½ cup milk
- 1 ½ cups water
- 300 ml cream
- 1 ½ cups + 1 tablespoon ghee clarified butter
- 6 cardamom pods
- 1 ½ - 2 cups sugar
- ½ cup sliced almonds plus more for garnish
- ¼ cup sliced pistachios plus more for garnish
Instructions
- Soak the chana daal (split bengal gram) overnight or at least 6 - 8 hours).
- Drain the soaking liquid, and place the chana daal in a pot. Add water and milk, and bring the daal to a boil. Make sure the chana daal is completely submerged, and if not, add more water.
- Turn the heat to low, and cook the chana daal till it is tender. This process can take anywhere from 45 minutes - 1 hour.
- Turn off the heat, and let the chana daal for a few minutes. Add cream to the cooked chana daal and give a quick stir.
- Use a hand blender / immersion blender to blend the chana daal into a thick and creamy paste. The paste will be light biege in colour. Chana daal can be difficult to blend, so if necessary add a splash of milk. Make sure the daal is blended properly else you will feel a bit of graininess in the final halwa. Set aside the blended daal mixture.
- Crush the cardamom seeds in a mortar & pestle - this step releases the flavour and aroma of the cardamom seeds.
- Heat ghee / clarified butter in a heavy bottomed pan - this can either be stainless steel, anodized aluminium or even non-stick.
- Add the crushed cardamom seeds and cook for about a minute. Then add the blended daal mixture.
- Turn the heat to low - medium and stir the daal mixture vigorously. In the beginning it will look as if the ghee isn’t absorbed, but as you keep stirring the ghee will be absorbed and the halwa will come together. As it cooks, the halwa will change colour from cream/beige in colour to a light golden brown to a caramel-ish golden brown.
- It’s important to keep stirring the halwa on a regular basis especially after it turns light brown, otherwise it can burn. This process does require quite a bit of muscle work as well as constant standing on the stove.If you have other tasks to do, best to turn heat to low or put a tawa / frying pan below the pot to protect the halwa. This will increase the total cooking time, but reduces the frequency of stirring and minimises the risk of burning.
- Once the halwa turns light golden brown in colour, add the sugar. As you add the sugar, the halwa will thicken initially, but after a few minutes the sugar will melt and the halwa will become easy to handle. Cook for about 10 - 15 minutes making sure to stir regularly. Once the sugar is added, the halwa is prone to burning so be careful.
- At this point, taste the halwa and see if you need to adjust the sugar. I start off with adding 1 ½ cups of sugar, and then add a few more tablespoons if needed. In case the halwa looks too dry, add a splash of milk or cream.
- In a separate small frying pan, heat a tablespoon of ghee and then add the almonds & pistachios. Toast for about a minute, and then stir them into the halwa, reserving a few for garnish on the top.
- Garnish with remaining pistachios and almonds, and serve hot or cold. I prefer warming the halwa till it becomes soft and then serving.
Notes
- The chana dal mixture needs to be properly blended otherwise there will be a hint of graininess in the final halwa. Add a splash of milk or water if the mixture is difficult to blend.
- Use finely granulated sugar (or caster sugar) as it dissolves easily. Pulse regular sugar in a coffee mill or spice grinder 1 - 2 times to make sure it’s fine enough.
- Use a stainless-steel pan to make the halwa. Preferably one that is wide and shallow. This will help the chana daal from sticking to the bottom of the pan and burn. It is also possible to use a non-stick pot or pan.
- Keep an eye on the halwa and stir regularly. The halwa can burn if you don’t stir frequently. If you are doing other things on the side, and are worried about the halwa burning, cook the halwa on low heat. In case your lowest heat level is on the high side, put a tawa below your pot that will reduce direct heat to the pot. This will increase the total cook time but will reduce the risk of burning.


Fatima Cooks says
This looks wonderful! I have never made this, I must try it one day